
How Do Shops Blend Paint Into Adjacent Panels for Scratch Repair?
If you are wondering how do shops blend paint into adjacent panels for scratch repair, the answer comes down to precision, experience, and a very controlled process. At Relux Collision, we see this every day. A small scratch can turn into a noticeable mismatch if the blending is not done correctly. The goal is always the same: restore the vehicle so the repair disappears and the finish looks consistent across every panel. This is where true paint blending becomes essential. When done right, the repair is invisible, the color matches perfectly, and the vehicle looks like nothing ever happened.
What Is Paint Blending in Auto Body Repair
Simple Definition
Paint blending is the process used by a body shop to gradually fade new paint into the surrounding paint so there is no visible line between old and new surfaces. Instead of repainting just the repair area and risking a mismatch, technicians blend paint into each adjacent panel to create a smooth transition. This ensures the original paint and the new paint flow together naturally.
This process is especially important on modern cars where paint colors, shades, and finishes are more complex than ever. A professional painter understands how to adjust technique, mix the right shades, and apply thin layers to achieve a flawless finish.
Where Blending Is Used
Blending is commonly used when repairing a scratch on a front door, rear door, or front fender. For example, a repair on a door edge may require blending into the surrounding panels to avoid a hard edge line. The blend area often extends beyond the repair area to ensure everything matches under different light conditions. This is standard practice in any high-quality paint work.
Why Paint Blending Is Necessary for Modern Cars
Advanced Paint Systems
Modern car paint is not simple. Many vehicles use metallic and multi-layer systems that react differently depending on how the paint is applied. The angle of spraying, the thickness of each coat, and even the distance of the spray gun can change how the color looks. Without blending, even the correct paint code may not match the rest of the vehicle.
Colour Matching vs Real-World Results
Colour matching is more than just selecting a code. A technician must mix and test multiple shades to find what matches the surrounding paint. Even then, the only way to ensure a perfect match is by blending into adjacent panels. This allows the color to visually adjust across the surface.
Effects of Sun Exposure
Over time, sun exposure changes how paint looks. The original paint may fade slightly or shift in tone. This is why a fresh repaint without blending can stand out. Blending helps bridge that gap and creates a consistent look across the entire panel.
Human Eye and Panel Edges
The human eye is very sensitive to differences at a panel edge. Even a small variation in color or gloss will stand out. Blending removes that harsh edge by softening the transition between panels.
Step by Step Process of Paint Blending
Step 1: Surface Preparation and Sanding
The process begins with proper surface prep. The repair area is cleaned using a grease and wax remover, sometimes referred to simply as a wax remover. This step removes any grease, residue, or contaminants that could affect adhesion.
Next comes sanding. Technicians use different grit paper to smooth the surface and feather the edges of the repair area. This creates a flat and even base for the primer and paint. Filler may be used if needed to level imperfections. The surrounding panels are also lightly sanded so the new paint can stick properly.
Tape is applied to protect areas that should not be painted, and care is taken to prevent overspray. This preparation stage is crucial to achieving a smooth result.
Step 2: Primer Application and Surface Leveling
Primer is applied to the repair area to create a uniform base. Multiple thin layers are used, and each coat is allowed to settle before the next is applied. Once dry, the surface is sanded again using fine paper to ensure it is completely smooth.
This step ensures the base coat will sit evenly and that the final finish will look clean and consistent.
Step 3: Colour Matching and Test Spraying
Colour matching is done using advanced tools and hands-on experience. Technicians mix different paint colors and create test samples. These samples are sprayed and checked under proper light and sunlight conditions.
The goal is to find a color that matches the surrounding paint as closely as possible. Even a small amount of difference can be noticeable, so this step requires patience and skill.
Step 4: Applying the Base Coat and Blending Technique
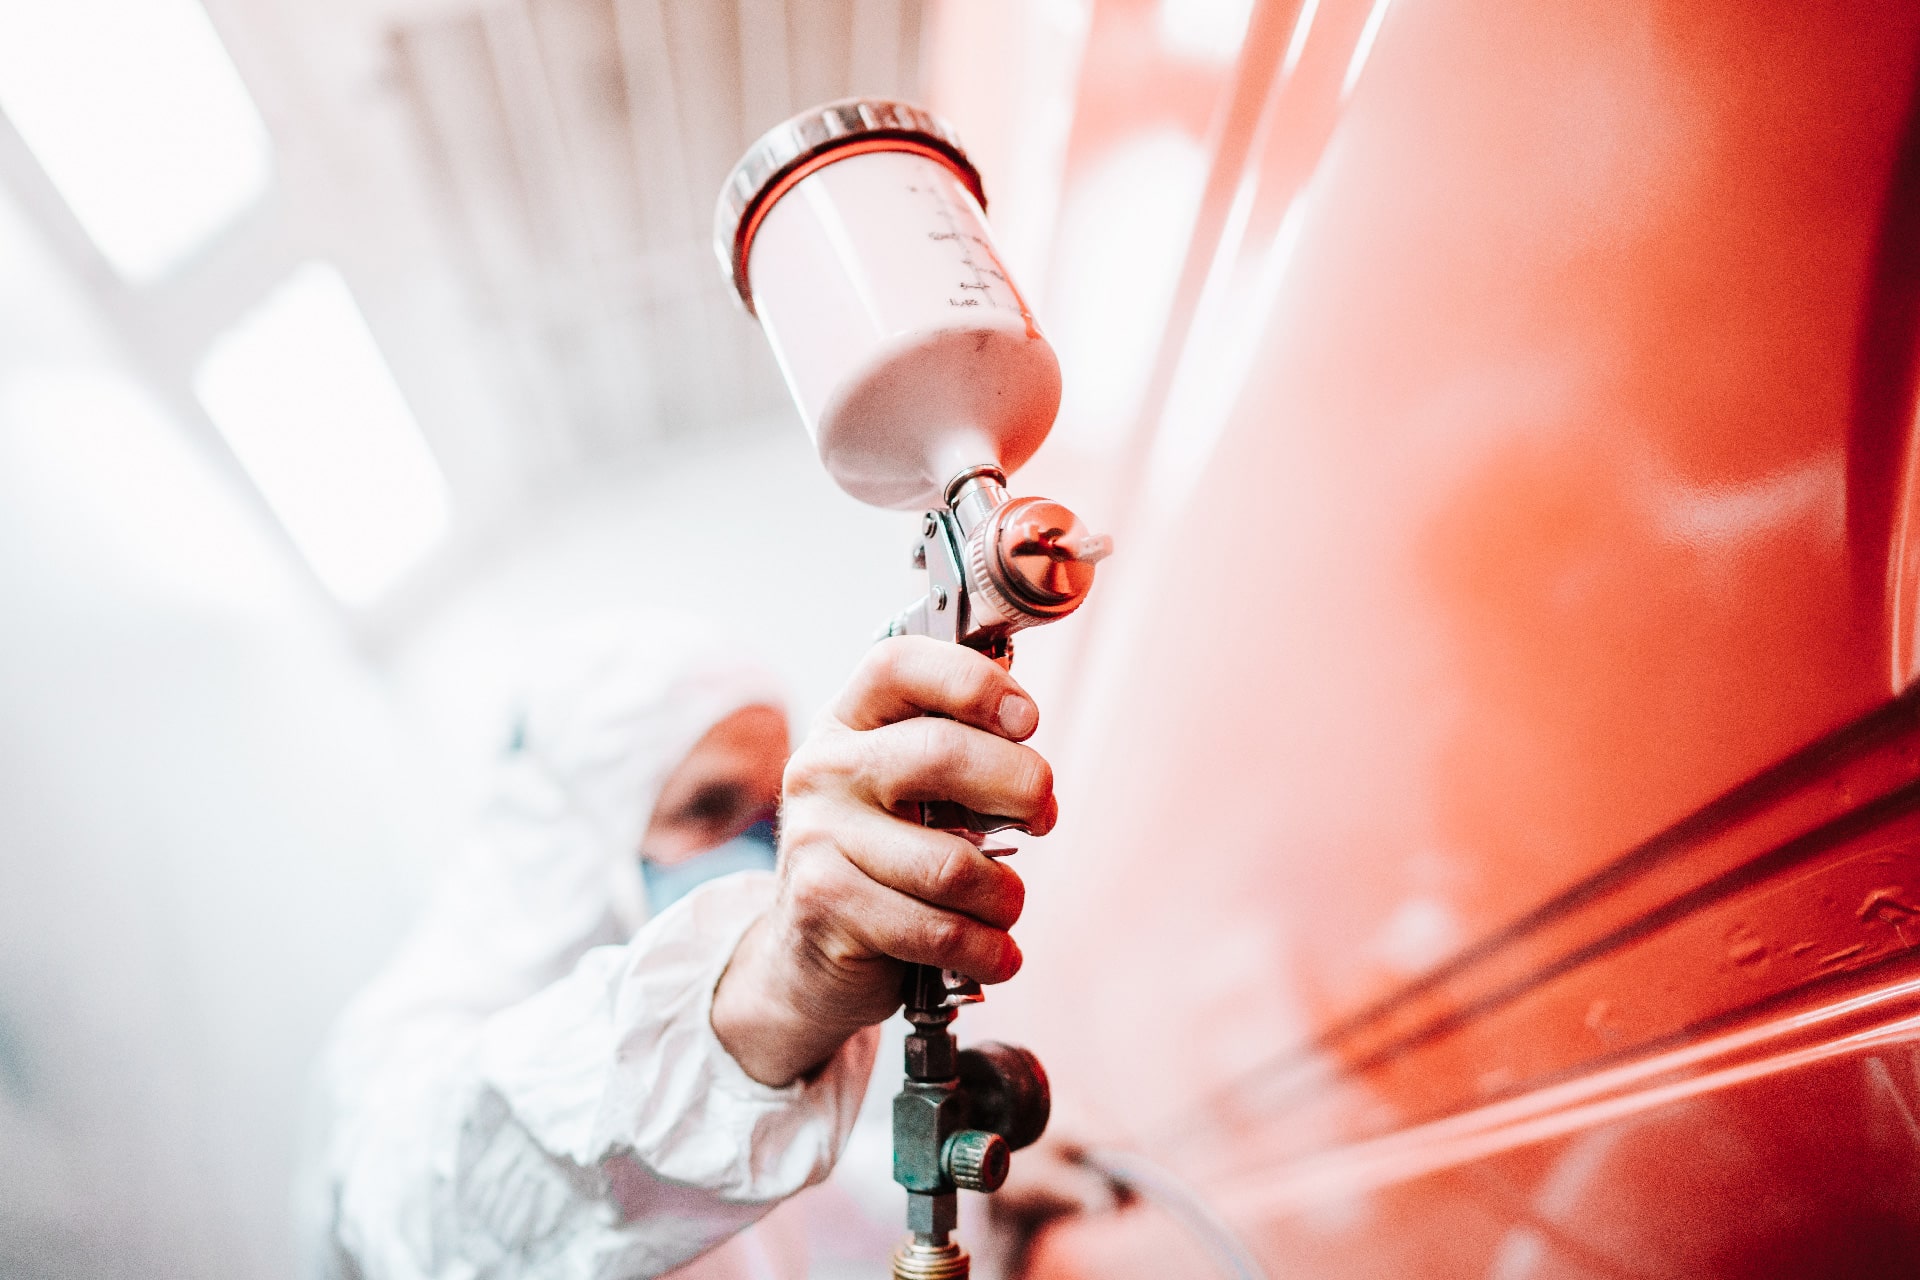
The base coat is applied to the repair area first. Then the painter begins blending outward into the adjacent panel. This is done by spraying lighter passes as the paint moves away from the repair area.
The technique involves controlling the spray gun, adjusting the angle, and applying thin layers to create a gradual fade. This is where the art of blending really comes into play. A skilled technician knows how to mix and apply the paint so it disappears into the rest of the panel.
The blend area is carefully extended to ensure there is no visible transition. This step is critical to achieving a flawless finish.
Step 5: Clear Coat Application Across Panels
After the base coat is complete, a clear coat is applied. The clear coat is sprayed over the entire panel and often into the adjacent panel as well. This ensures consistent gloss, depth, and protection.
Multiple layers of clear coat are applied, each one building up durability and shine. The clear coat also helps the new paint match the original paint in appearance.
Step 6: Curing, Polishing, and Final Inspection
Once the clear coat is applied, the vehicle is cured in a controlled environment. After curing, technicians polish the surface to remove any minor imperfections and enhance the shine.
The final step is inspection. The repair is checked under different lighting conditions, including direct sunlight. The goal is to ensure the color matches and the blending is completely invisible.
How Shops Decide Which Panels to Blend
Factors That Matter
A body shop will decide how far to blend based on several factors. These include the location of the repair area, the type of paint, and the condition of the surrounding paint. Metallic finishes often require more blending because they reflect light differently.
Example Scenarios
A scratch on a front door may require blending into the front fender. Damage near a rear door edge may require blending into multiple surrounding panels. The idea is to create a smooth transition that hides the repair completely.
What Makes a Perfect Paint Blend
Skill and Experience
Blending is both a science and an art. It requires practice, technique, and attention to detail. A professional painter understands how to adjust the spray gun, control the layers, and apply each coat correctly.
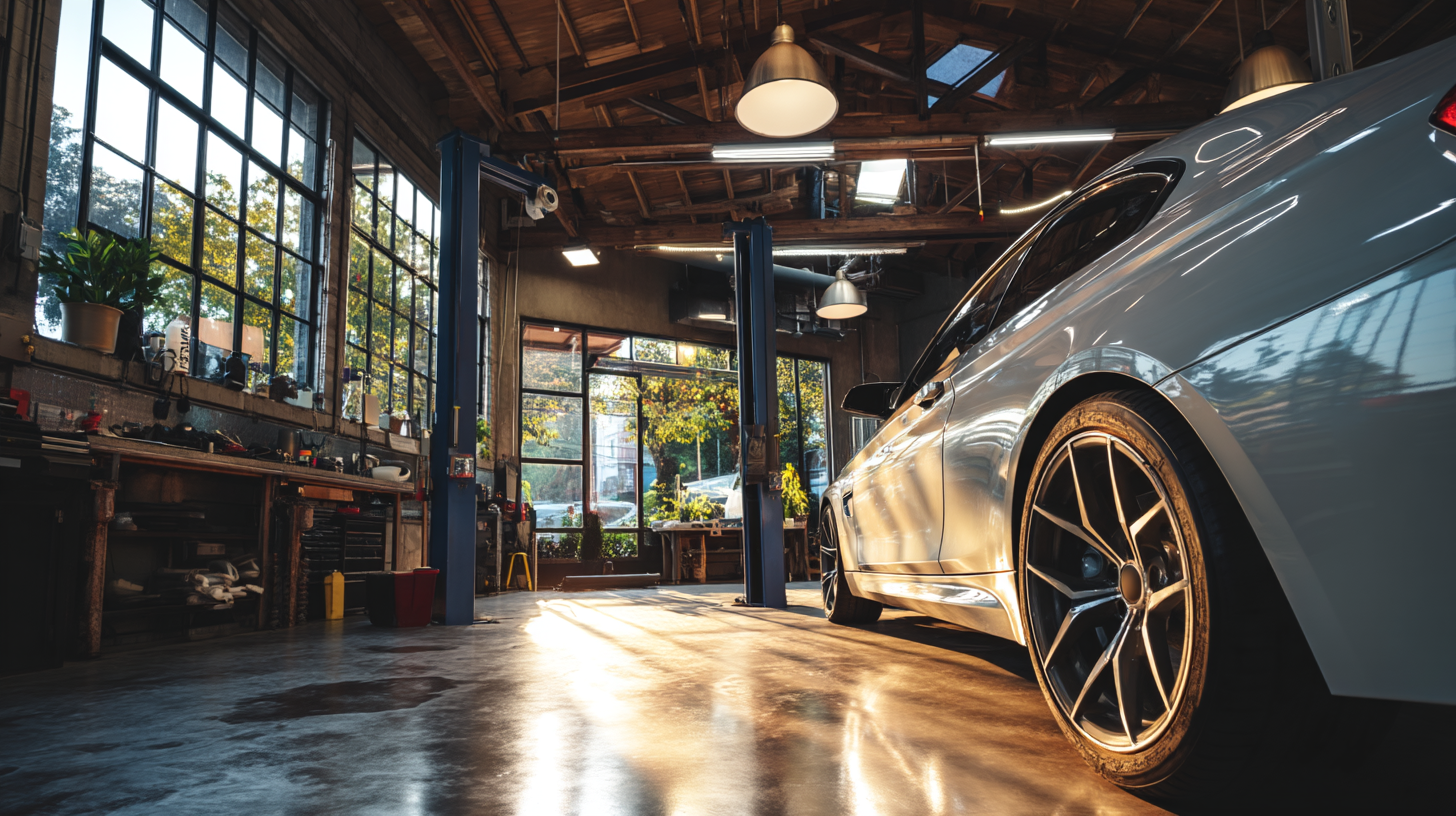
Equipment and Environment
A controlled spray booth ensures proper temperature and airflow. This helps the paint settle evenly and prevents defects.
Quality Materials
Using high-quality paint, primer, and clear coat ensures better results and long-term durability.
No Shortcuts
Every step in the process matters. Skipping sanding, rushing the coat application, or applying too much paint can ruin the job.
Common Paint Blending Mistakes
Visible Color Differences
If the paint does not match across panels, blending was not done correctly.
Uneven Metallic Finish
Metallic paint can appear patchy if not applied evenly.
Clear Coat Lines
A visible line in the clear coat means the panel was not properly finished.
Lighting Differences
A poor blend may look fine indoors but stand out in sunlight.
Red Flags
Check the repair in natural light. Look at edges and feel the surface for any rough spots.
Does Paint Blending Affect Vehicle Value
A proper repair helps maintain the value of the vehicle. If the paint matches and the repair is invisible, the car retains its appearance and appeal. Poor paint work, on the other hand, can reduce value.
How Long Does Paint Blending Take
Most jobs take one to three days. The timeline depends on the size of the repair, the number of panels involved, and the curing process.
DIY vs Professional Paint Blending
Why DIY Fails
Without the right tools and environment, it is very difficult to blend paint correctly. Matching paint colors and applying even coats requires experience.
Risks
DIY attempts can lead to mismatched panels, uneven finish, and costly corrections.
When to Choose a Professional
For any visible repair, it is best to trust a professional body shop with the right equipment and skill.
Why Choosing the Right Body Shop Matters
A high-quality body shop uses proper technique, advanced colour matching, and controlled environments to achieve consistent results. At Relux Collision, every repair is handled with precision and care.
FAQs
Will the repair be visible?
No, when blending is done correctly, the repair is invisible.
Does blending require repainting the entire panel?
In most cases, the entire panel will receive clear coat to ensure consistency.
How long will the paint last?
With proper application, the paint will last as long as the original finish.
Is blending necessary for small scratches?
Yes, even a small scratch can require blending to ensure a perfect match.
Final Thoughts
Paint blending is a crucial part of modern collision repair. It ensures that new paint integrates seamlessly with the original paint and surrounding panels. The process requires careful preparation, precise application, and attention to detail. When done correctly, the result is a smooth, flawless finish that restores the vehicle to its original condition.
Get a Flawless Finish Today
At Relux Collision, we take pride in every repair. From colour matching to final polish, our team focuses on delivering results that match factory standards. If your vehicle needs expert paint work, get your free estimate today, call our team, or schedule your visit and let us restore your car with precision and care.