
After a car accident, one of the first questions drivers ask is what is the typical accident repair process. Whether you experienced a minor fender bender or a major collision, understanding how the repair process works gives you a basic understanding of what will happen to your vehicle, how long repairs may take, and how your insurance company fits into the picture. Modern collision repair is detailed, technical, and focused on restoring your car to its pre accident condition while protecting the vehicle’s safety. This guide explains the typical process from start to finish so you know what to expect at a professional auto body shop.
Why Understanding the Accident Repair Process Matters
The collision repair process involves far more than fixing dents or replacing a bumper. Today’s vehicles rely on complex auto body construction, safety equipment, electrical systems, and mechanical systems that must all work together. A clear understanding of the repair process helps you communicate with your insurance provider, review a repair estimate confidently, and recognize why certain repairs take time. When drivers understand the process, they are less surprised by repair timelines, insurance approval delays, or additional repairs uncovered during disassembly.
Step-by-Step: The Typical Accident Repair Process Explained
Step 1 – Vehicle Intake and Initial Damage Assessment
The process begins when your vehicle arrives at the repair shop. This may be after a tow following an accident or a scheduled drop off after a car accident claim is filed. A service advisor performs an initial assessment that includes photos, notes, and a damage assessment based on visible issues. This initial estimate is not final but provides a starting point for insurance claims and helps determine whether the car is safe to drive. Accurate assessment and detailed documentation at this stage support insurance approval later in the process.
Step 2 – Pre-Repair Diagnostic Scan
Modern collision repair requires more than visual inspection. A pre-repair diagnostic scan checks the car’s electrical systems and safety equipment for stored fault codes caused by the accident. Even a low speed auto collision can affect sensors without triggering warning lights. Scanning allows certified technicians to identify necessary repairs early and ensures the vehicle repaired later will be functioning properly. This step is now standard at a quality auto collision center.
Step 3 – Blueprinting and Teardown to Identify Hidden Damage
Blueprinting involves partial disassembly of the auto body to uncover hidden damage. During this stage, the body shop removes panels, bumpers, and trim to see what cannot be viewed during the initial assessment. Hidden damage is common, especially in modern vehicles designed to absorb impact. This step creates an accurate assessment of damage extent and allows the repair center to plan all necessary repairs before work begins.
Step 4 – Repair Estimate Review, Insurance Approval, and Supplements
Once blueprinting is complete, the repair shop prepares a detailed estimate that reflects the full scope of collision repair services required. This repair estimate is submitted to the insurance company or insurance provider for review. Insurance adjusters may request clarification or additional documentation before insurance approval is granted. If further damage is discovered later, supplements are submitted. This is normal and ensures repair costs reflect the actual repairs needed to restore the vehicle safely.
Step 5 – Parts Ordering and Verification
After insurance approval, the repair shop orders replacement components from parts suppliers. These may include original manufacturer parts or insurer approved alternatives depending on coverage. When parts arrive, they are checked against the estimate to confirm they are correct and undamaged. Necessary parts must be verified before installation to avoid delays. Additional parts may be required if damage extent changes, which can affect repair timelines.
Step 6 – Structural Repairs and Frame Work
If the accident caused structural damage, structural repairs begin before cosmetic body repair. This may involve frame repairs or correcting the vehicle’s frame using computerized measuring systems. Restoring structural integrity is critical to the vehicle’s safety and ensures the car can absorb impact as designed in future accidents. Frame damage and structural damage are addressed according to factory specifications to return the vehicle to its original shape.
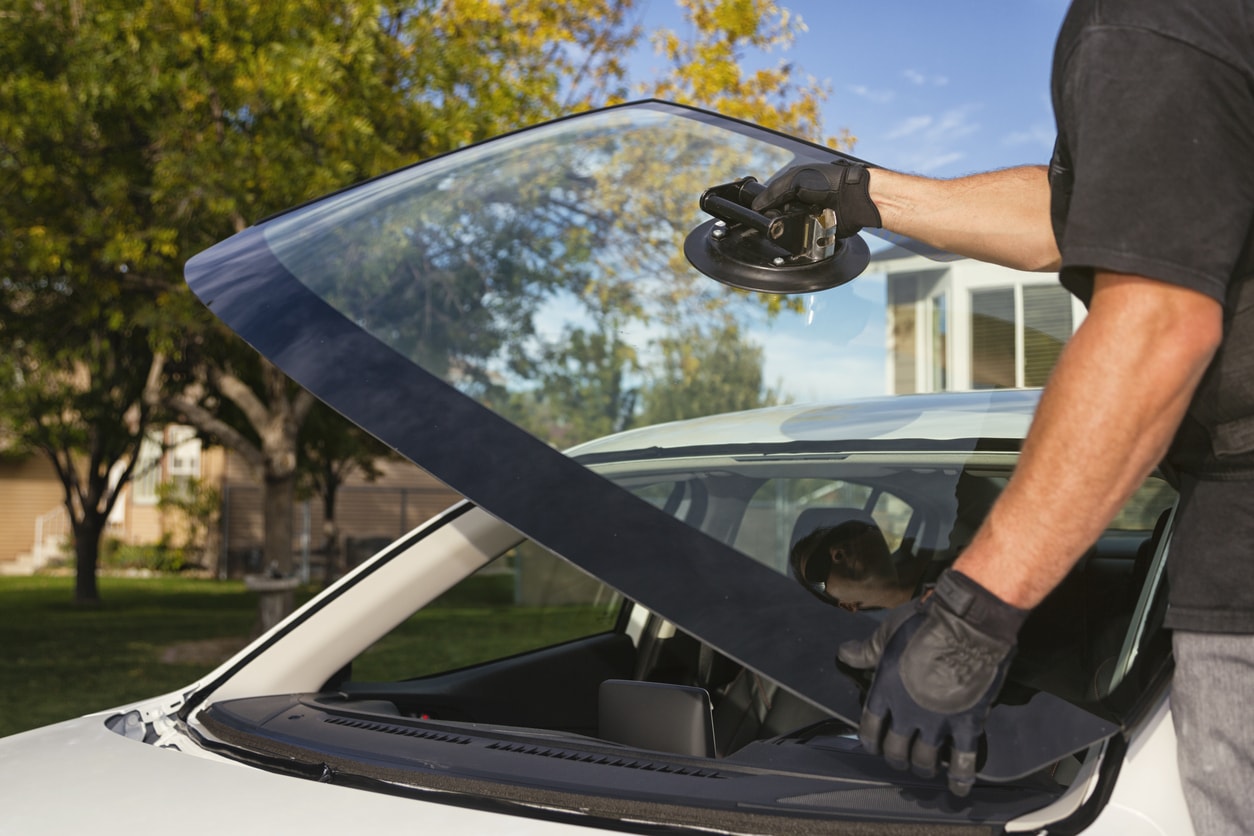
Step 7 – Body Repairs and Panel Replacement
With the structure corrected, technicians move to body repair. This stage includes fixing dents, replacing damaged panels, and preparing surfaces for paint. Body filler may be used in controlled amounts to restore contours. Replacement panels are test fit to ensure alignment. Auto body repair at this stage focuses on restoring damaged areas while preserving long term durability.
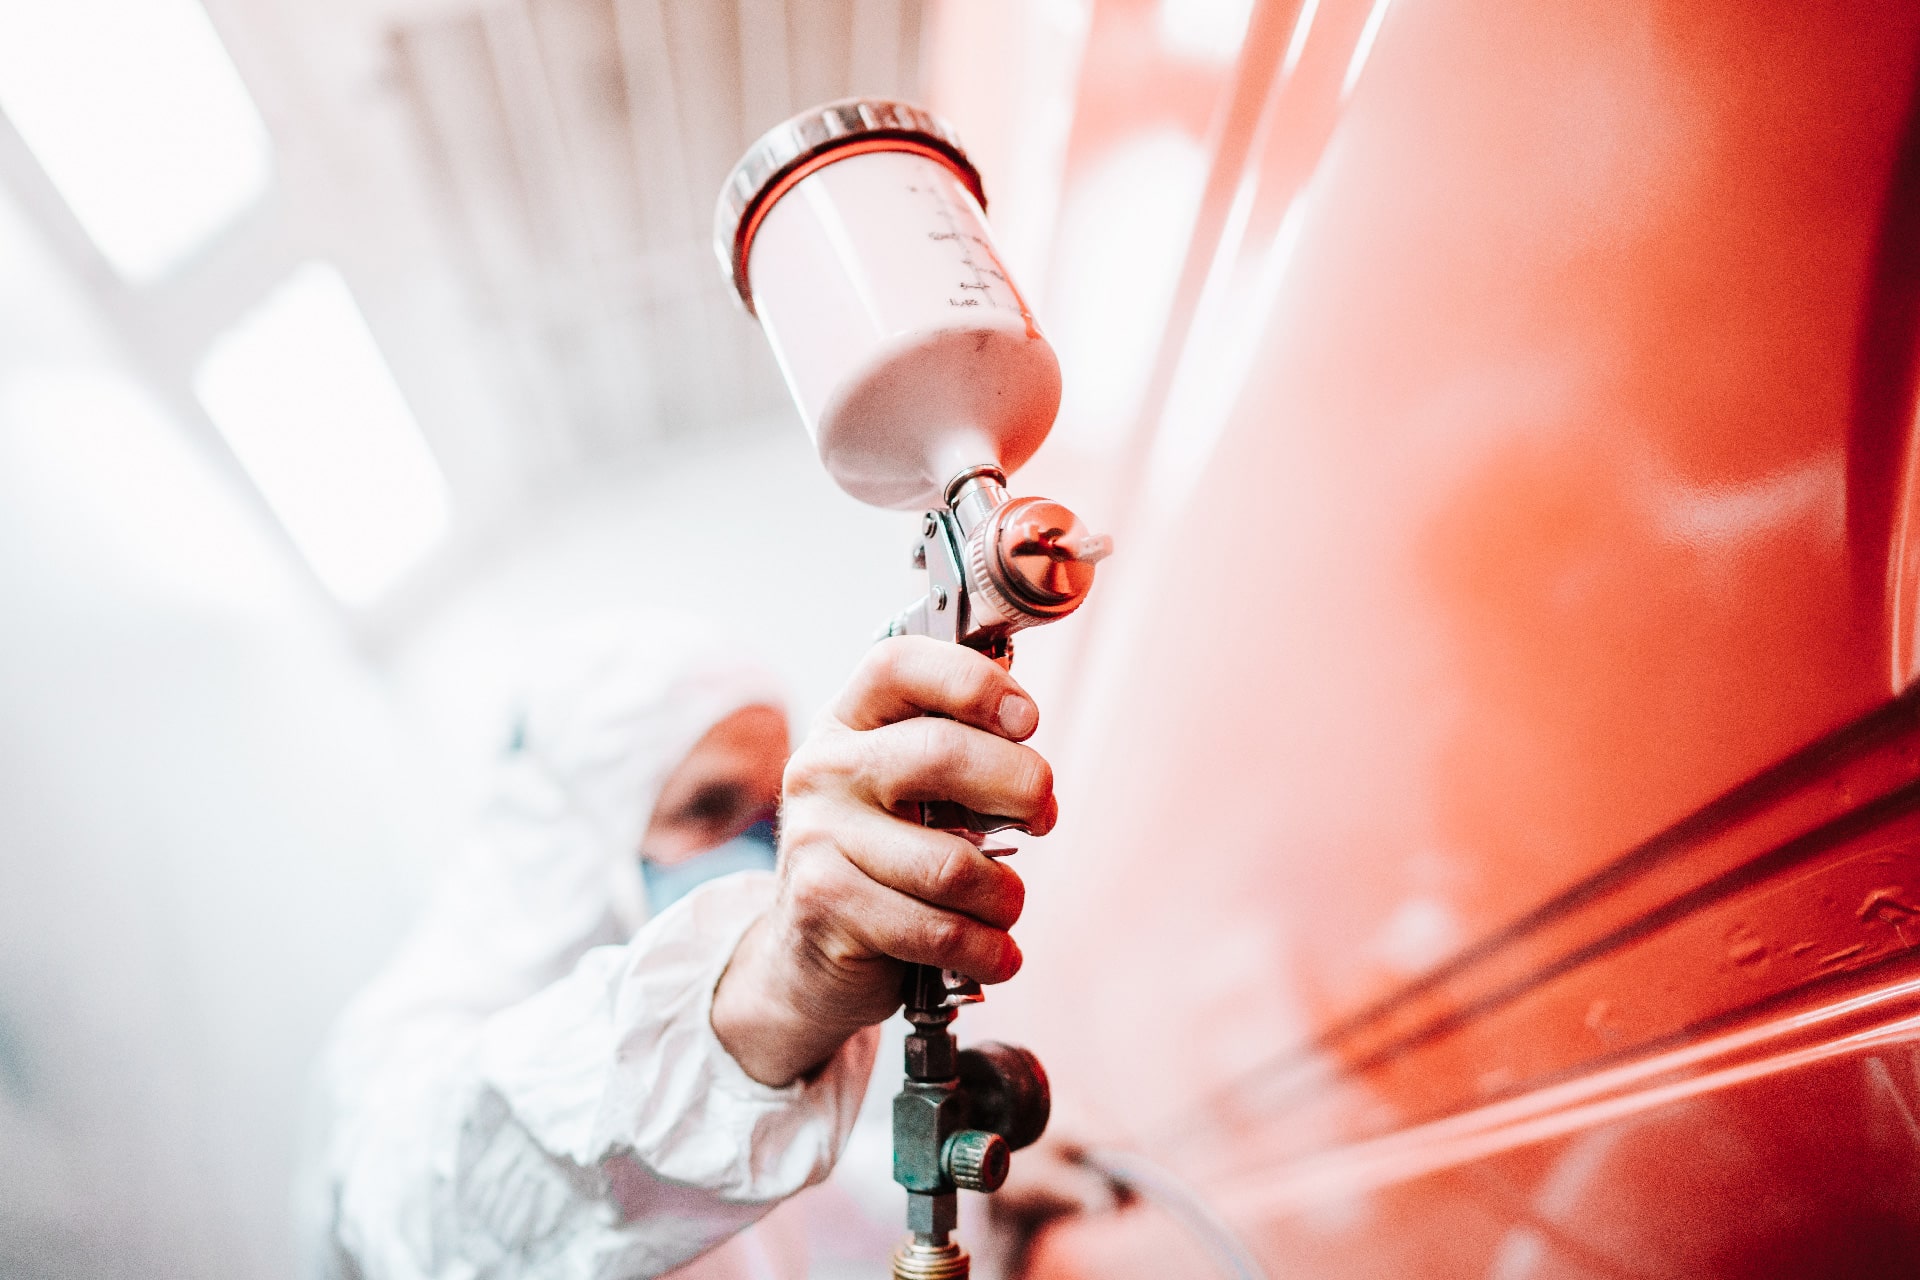
Step 8 – Paint Preparation and Refinishing Process
Paint preparation begins once body repairs are complete. Surfaces are sanded, primed, and sealed before color application. The refinishing process includes applying basecoat and clear coats, followed by proper curing. Blending into adjacent panels ensures the vehicle looks uniform. Quality paint preparation protects against corrosion and supports a long lasting finish that matches factory appearance.
Step 9 – Reassembly and System Checks
After refinishing, the vehicle is reassembled. Trim, lights, safety equipment, and sensors are reinstalled following manufacturer procedures. Electrical systems and mechanical systems are checked to confirm they communicate correctly. Suspension repairs may also be completed at this stage if the accident affected alignment or handling.
Step 10 – Post-Repair Scan, Calibration, and Test Drive
A post-repair diagnostic scan verifies all systems are clear of fault codes. When required, calibrations ensure cameras and sensors operate accurately. A test drive confirms the car handles correctly and is functioning properly. This step ensures the vehicle repaired meets safety expectations before final delivery.
Step 11 – Quality Control and Final Inspection
Before delivery, the repair center performs quality control checks. These inspections confirm repairs meet factory specifications, panels align properly, and all systems work as intended. Final inspection includes reviewing cosmetic finish, warning indicators, and drivability. Quality control is essential to ensure repairs meet professional standards.
How Long Does the Accident Repair Process Usually Take?
Repair timelines vary based on several factors including vehicle type, damage extent, parts availability, and insurance approval speed. A simple fender bender may be completed quickly, while a major collision can take weeks. Several factors influence the estimated completion date such as hidden damage, additional repairs, or backordered parts. A reliable body shop communicates updates clearly throughout the process.
Common Myths About Accident Repairs
No Warning Lights Means No Damage
Many systems store fault codes without triggering alerts. Diagnostic scans are essential even after minor accidents.
Insurance Controls the Repair
While insurance companies play a role in insurance claims, drivers choose the auto body shop and repairs should follow proper procedures.
All Repair Shops Are the Same
Collision repair quality varies widely. Certified technicians, advanced equipment, and proper documentation matter.
How Vehicle Owners Can Help the Process Go Smoother
Prompt communication, timely approval of estimates, and choosing a reputable repair shop help reduce delays. Understanding repair costs, asking questions, and staying informed all support a smoother experience.
Why Collision Repair Is More Complex Today
Modern auto body design integrates lightweight materials and advanced safety features. Auto collision repairs now require precise processes, accurate assessment, and adherence to manufacturer guidelines. The typical process has evolved to prioritize safety and long term reliability.
Frequently Asked Questions About the Collision Repair Process
How does the collision repair process work?
It starts with intake and initial assessment, followed by diagnostics, disassembly, estimating, repairs, refinishing, inspections, and final delivery.
Can I get multiple estimates?
Yes, but a complete estimate often requires teardown to capture all necessary repairs.
Will my vehicle be restored to pre accident condition?
When repairs follow proper procedures, the vehicle can be restored to pre accident condition with safety systems working correctly.
How do insurance claims affect repairs?
Insurance claims and insurance approval can affect timelines, especially when supplements are required.
What to Expect From a Professional Auto Body Shop
A trusted auto body shop or auto collision center provides clear communication, accurate estimates, and comprehensive collision repair services. A dedicated team works to restore the car, protect structural integrity, and ensure the vehicle’s safety. Certified technicians, proper repair processes, and attention to quality control define a reliable repair shop.
Final Thoughts on the Typical Accident Repair Process
Understanding what is the typical accident repair process helps drivers navigate repairs with confidence after an accident. From initial estimate to final inspection, the process is designed to restore your car safely and correctly. Choosing the right body shop and staying informed ensures your vehicle is repaired properly and returned ready for the road.